
 Cardboard Theatre
Cardboard Theatre
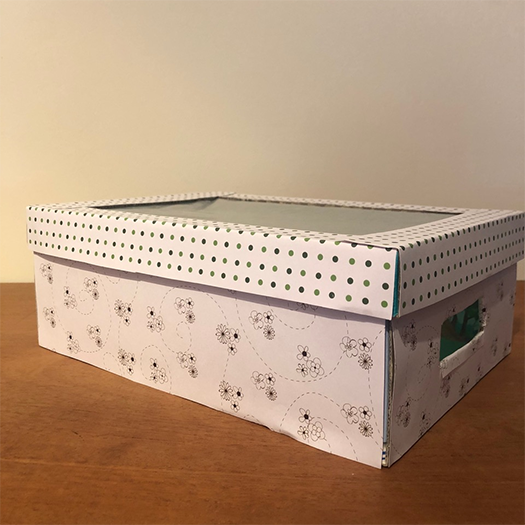
Make a stage out of a cereal box.
Materials
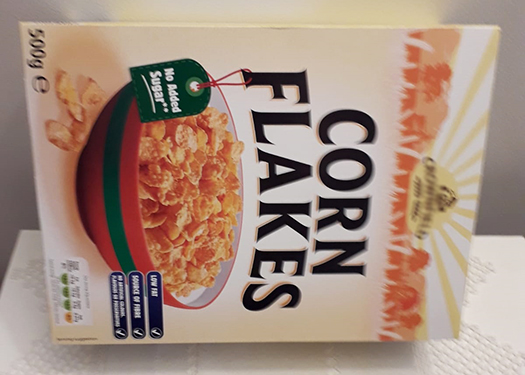
- Cereal box
- Some extra cardboard
- Paperclips
- Acrylic paints or poster paints
- Pritt or paper glue
Equipment
- Scissors
- Ruler
- Pen or pencil
- Small artists paint brushes
Instructions
These instructions will work for any size of box.
- Cut out the front and sides
Lay the box sideways
Measure the width and the height and write it down.
First draw the cutting lines on the front of the cereal box:
Begin by drawing the side cutting lines first - Measure in from the sides about 15%
(my box is 25cm wide so mine is 25 x .15 = 3.75cm I rounded that up to 4cm)
Draw a line on each side of the box
Now the top line. Measure down from the top about 20%
(my box is 19cm high so 19 x .2 = 3.8cm I rounded that up to 4cm as well)
Draw a line.
Lastly draw a line at the bottom of the box about 1cm from the bottom.
You now have a square marked on the front of your box.
On the sides of the box measure down from the top about 30%
(my box is 19cm high so 19 x .3 = 5.7cm. I rounded up to 6cm)
Draw a line across both the flaps on both sides of the box.
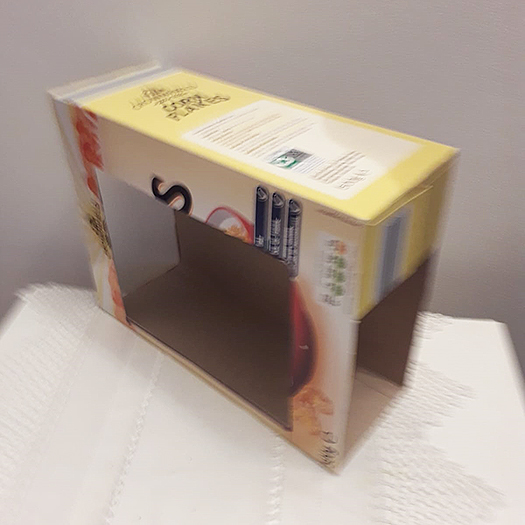
Cut out the front and cut along the lines on the side flaps
Cut off the bottom part of the side flaps cutting along the flap fold.
Cut off the bottom flap by cutting along the flap fold.
Keep the big bits of cardboard for later
Use Pritt or paper glue to stick the remaining side flaps back in place.
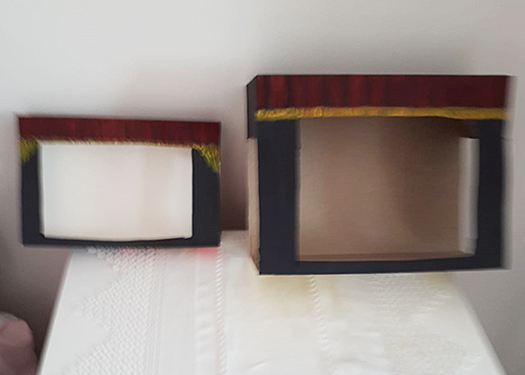
- Paint the front, top & sides of the box to look like a theatre.
You can keep it simple or use your imagination and make it colourful
I painted mine with a curtain frill at the top and brown for wood at the sides.
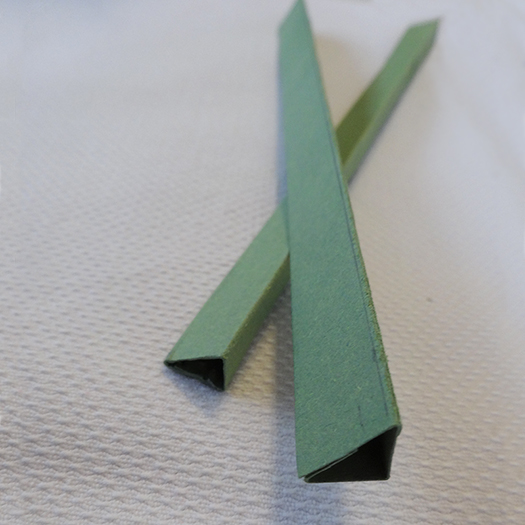
- Make the actor sticks.
A bit of geometry information – if you want something to be rigid use a triangle.
These actor sticks need to be right angle triangles (that means that one of the angles will be 90 degrees) so they don’t bend.
Triangles where the sides are a ratio of 3: 4: 5 will always be right angle triangles.
You need two pieces of cardboard about 60% of the width of the box.
(My box is 25cm wide so mine is 25 x .6 = 15cm)
Measure 46mm for the width and draw a line. Cut out the strips.
Draw lines along the length of the cardboard at 15mm, 12mm, 9mm. That will leave 10 mm. mark this section with a cross
Score the lines by placing the ruler along each line and running an open scissor blade along the ruler and pressing down gently.
If you can’t do this put the ruler along each line and bend the cardboard up along the ruler.
It will now fold into a triangular stick with the section marked with the X folding inside.
Put Prit or glue on the section marked with the X and stick down to form a triangular stick.
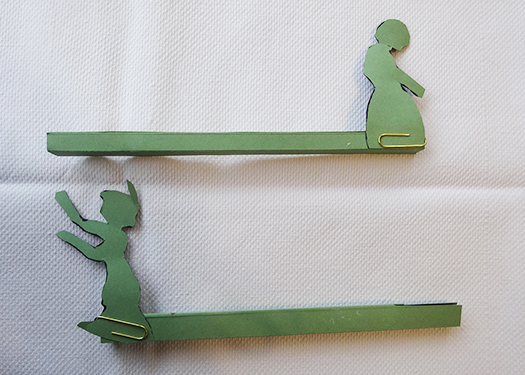
Stand it on its side and put a paperclip on the vertical (upright) side.
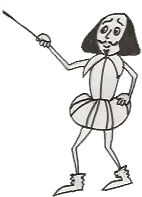
- Make the actors
The actors need to be about one third of the height of the box.
(my box is 19cm so my actors are 19 x .3 = 5.7cm or about 6cm high)
Put a line on a piece of cardboard at the height your actors should be and draw your actors.
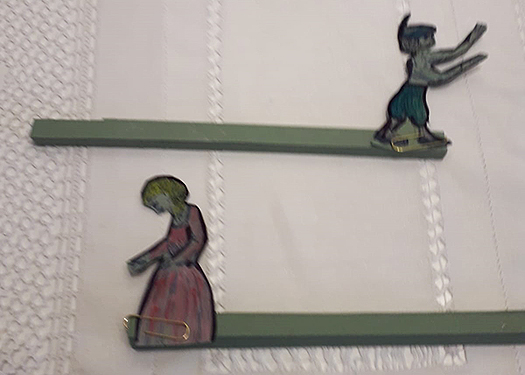
Cut them out and paint them.
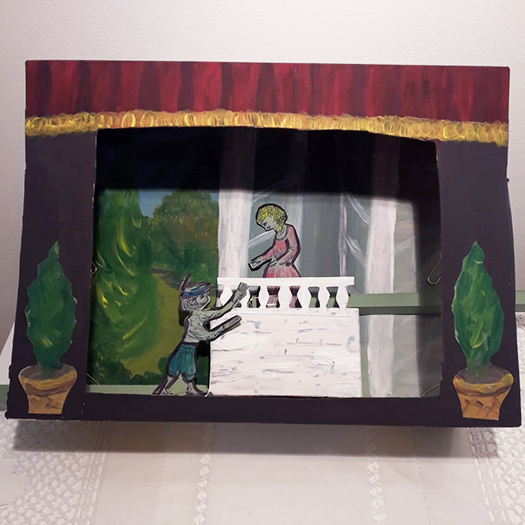
I am doing the play Romeo and Juliet so I have made these two characters.
You might want to make more actor sticks if you want more than two characters on stage at the same time. When you want to change a character you just take it off the paperclip on the actor stick and replace it with the one you want.
YOU CAN NOW MAKE A PLAY IN YOUR THEATRE.
If you want to do more to make it look realistic, add trees, scenery and a balcony by following the instructions below.
- Decorate your stage front.
You could make some trees in pots, but you could do all sorts of decorations; maybe the happy and sad faces that represent theatre or a pots of flowers.
Draw out one and cut it out. Trace this into another piece of cardboard and cut that out. Now you have two the same. Paint them. (my cardboard curled when I painted it so when it was completely dry I put my pieces under a couple of books for the night) - Make a back drop for the scene you are performing.
Cut out a piece of cardboard a few millimetres smaller than the back of the box.
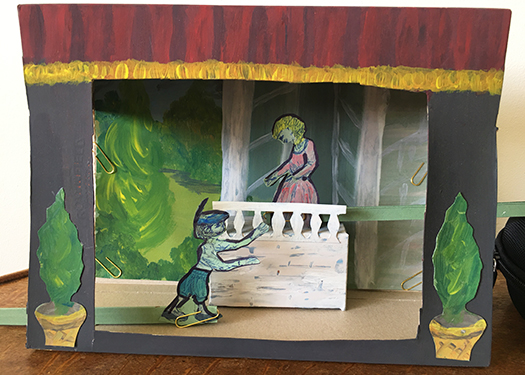
This scene is the balcony scene from Romeo and Juliet.
Decide what you think would be right for the back of the scene and paint it on the cardboard.
When it is finished and dry, bend it so that the picture is on the outside and slip it into the stage It will pop out straight again. Clip it to the back of the stage with paperclips.
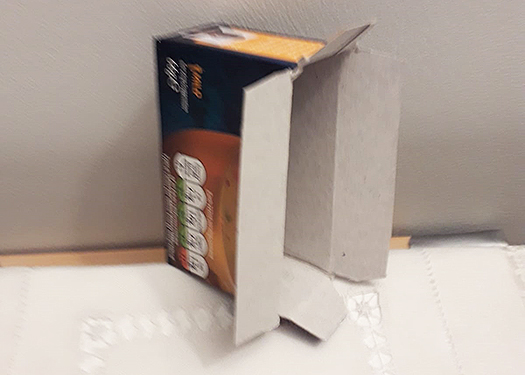
- Make a balcony.
Find a small box and cut it down. It should be about .3% of the height of your stage and maybe a bit wider.
Draw a line on the box where the base should be.
On the part of the box you don’t need cut off one long and one short flap along the fold line
Place each in turn on the base line you have drawn and draw round the flap.
Do this for all 4 flaps.
Cut out around the flaps and bend them along the base lines.
Glue the flaps up to make a closed box.
Make a balustrade.
Cut out a strip of cardboard the width of the box and 10mm to 15mm high.
Draw on some railings and cut out the spaces.
Stick it to the front of the balcony.
Paint it all to look like stone or bricks

If you want to do more scenes you can make more backdrops and props to suit it.
The characters and scenery can be made in the same way for the A4 Theatre project.
The characters and scenery can be made in the same way for the A4 Theatre project.
Stir Up Shakespeare Gallery
If you would like your work to feature in our online gallery, send a photo of your completed project by email or tag us on social media:
boatproductionmanager@gmail.com
Instagram: brownsea_open_air_theatre
Facebook: @BrownseaOpenAirTheatre
Twitter: @brownseatheatre
Other Design activities:

These activities will be enjoyed by children and adults of all ages.
The activities are rated according to difficulty and level of parental involvement: these descriptions are intended as a rough guide only.
We have rated them to help parents of children aged 8-13, on the assumption that above this age supervision is rarely required, and that below it, supervision is generally required.